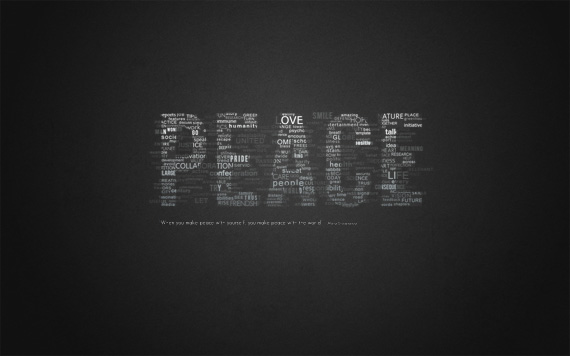
Now i`ll make a Great Typographic Wallpaper
Step 1 – Creating background
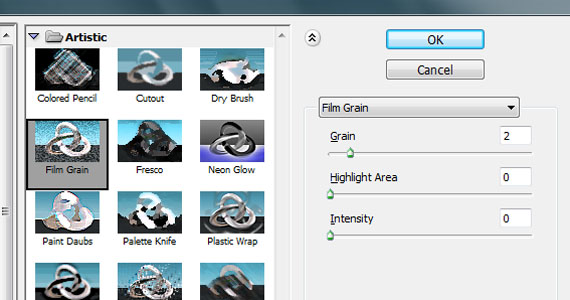
First open blank document with size 1920×1200 pixels. Fill the background with color #242424. Duplicate the background layer and name it Film grain. Then go to Filter – Artistic – Film Grain. Apply settings shown below.
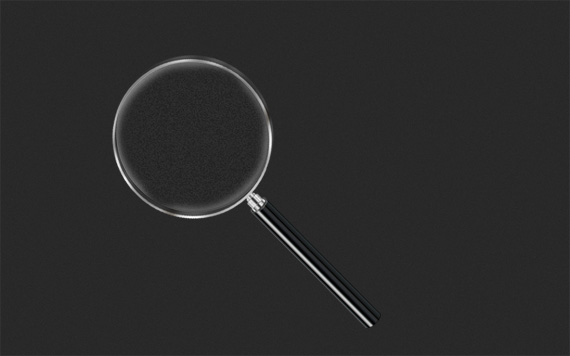
Set layers opacity to 50%. So far your wallpaper should look like this.
Step 2 – Lightning
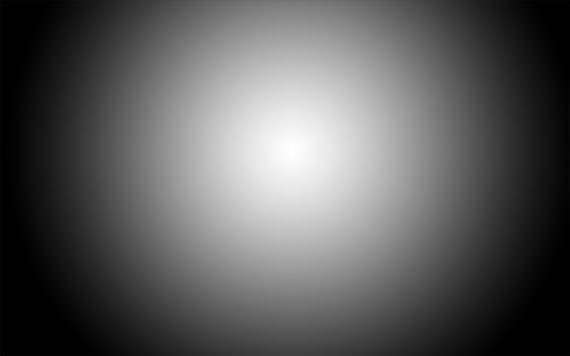
Create a new layer and name it Lightning. Then select Radial Gradient Tool with black and white color.
![]()
Draw the gradient as shown below.
Set layer to Overlay and opacity to 55%. You should have something like this.

Step 3 – Adding Brushes
Download Adys grunge brushes, create new layer and brush around little bit. Set layers opacity to 15%. Download Concrete texture, place it in your document and set it to Overlay and opacity to 10%.

Step 4 – Creating Main Text
Download BEBAS font, create a new layer and type your text. I chose 350 pt size with smooth mode. Color really doesn’t matter. Name layer PEACE.

Step 5 – Add Background Text – Important Step
Lower your text opacity to around 15%. Create a new group (Layer – New – Group) and name it Words. Create new type layers in this group and start typing. Try to use different fonts and sizes. Try to avoid large spaces between words. Fonts I used:
- Arial
- Cambria
- Candara
- Impact
- Tahoma
- Times New Roman
- Verdana
- And little bit more default fonts
- Some free fonts from dafont, Colaborate, Extravaganzza
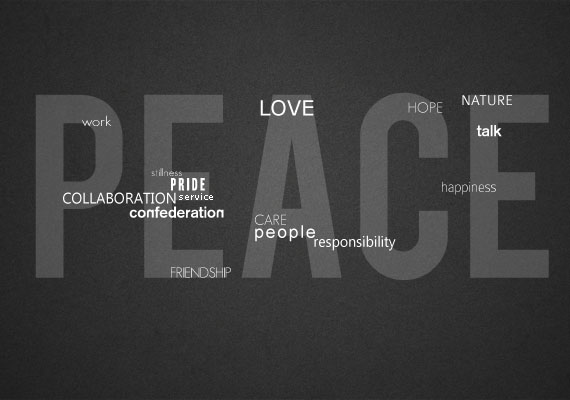
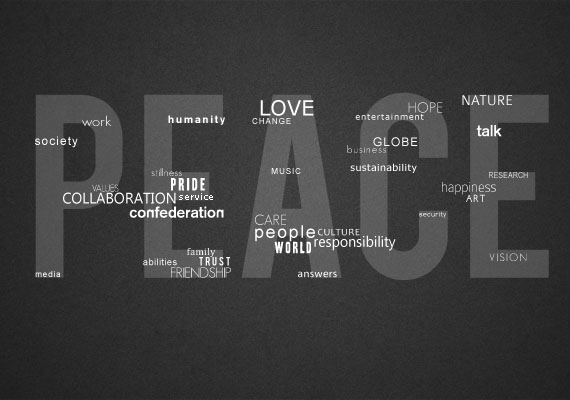
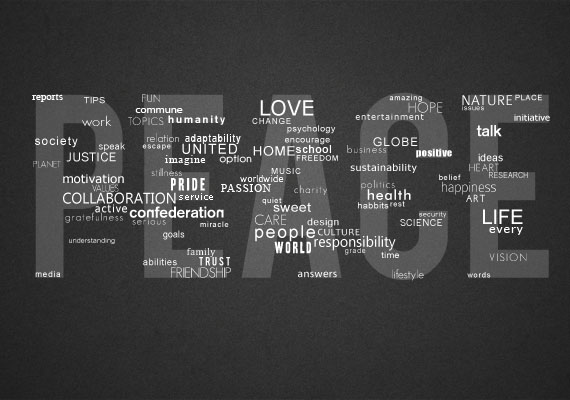
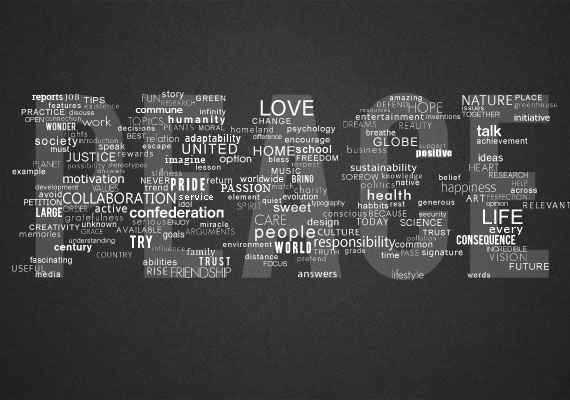

Step 6 – Creating effect
When you’re done duplicate your words group (Layer – Duplicate Group) and merge it (Ctrl+E). Make invisible your unmerged words group. Find your large text layer (in my case it’s PEACE), hold CTRL (Command on mac) and click on layers thumbnail. That should load it’s selection.
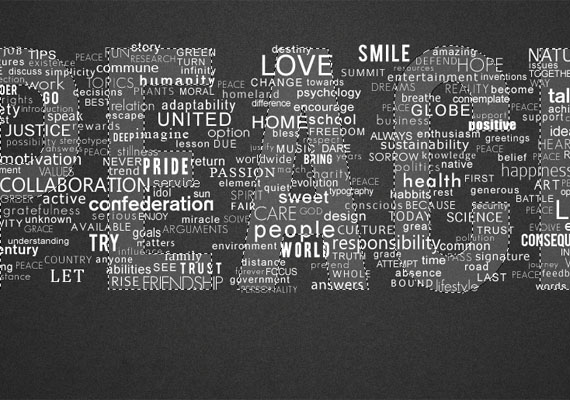
Then click on your merged words layer and press Ctrl+J. If you make invisible your merged words layer (and unmerged words group is still invisible) you should get something like this.
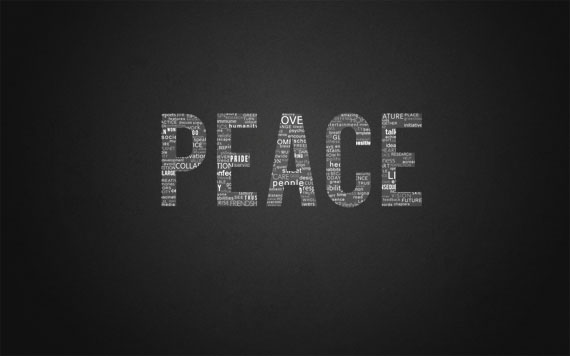
Step 7 – Create Background Text Effect
Make merged words layer visible again and apply following layer style.
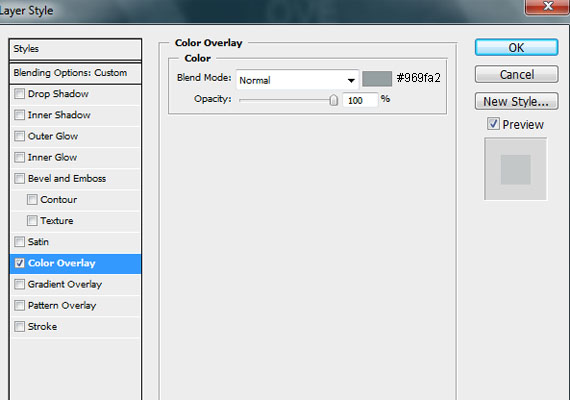
Set layers opacity to 30%.

Then duplicate merged words layer and place it under merged words layer. Then go to Filter – Blur – Motion Blur and apply following settings.
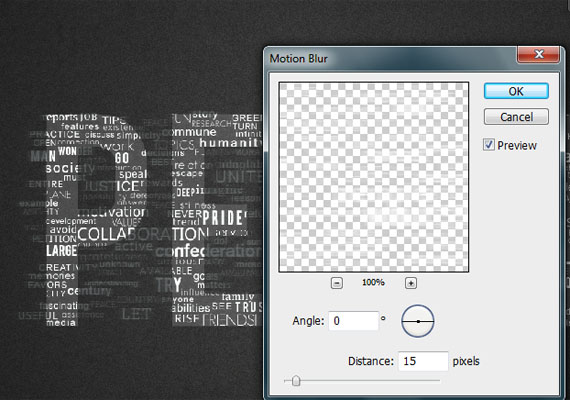
Set layers opacity to 15%.

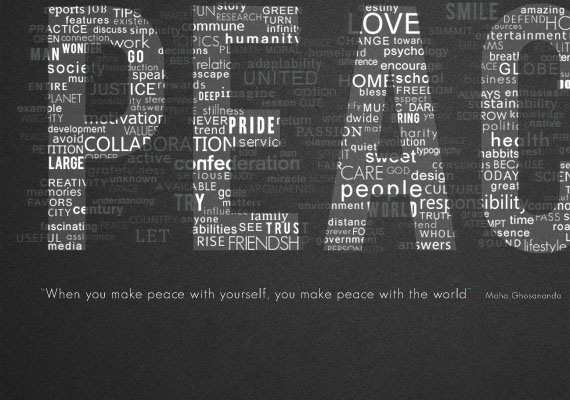
Add text under your title if you want.
Step 8 – Final touches
Locate your PEACE text layer and lower its opacity to 4%.

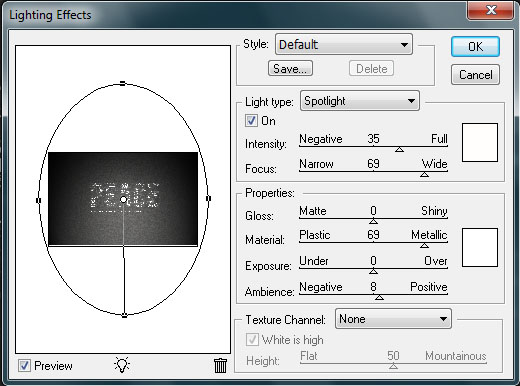
Create new layer, go to Image – Apply Image, then go to Filter – Render – Lightning Effects and apply following settings.
Set layers opacity to 30% and we’re done. I also added gradient map to one of the letter layers. Here’s final result. Click to enlarge.


1 comments:
“*NUMPANG PROMO, ya..
Pengen punya twiiter kayak yang lain..tapi gak tau caranya, mo tanya temen or calon gebetan tengsin abizzzz…tar d bilang gaptek lagi…alamak…!!! Tidak usah khawatir ato sedih. tips-tips dari pembuatan twitter sampe info update seputaran internet bisa kamu dapet kok. Gampang dan Mudah! ketik REG NET kirim ke 9789 (khusus telkomsel,yach..) di jamin update dech. Jadi Dapatkan langsung dari handphone kamu!“
Post a Comment
Luangkanlah Waktu Anda Sedikit Untuk Berkomentar
PERHATIAN : Diharapkan Untuk Tidak Melakukan SPAM Seperti :
1. Beriklan
2. Memasukkan LINK
3. Berkomentar Bukan Pada Tempatnya. dll
Saya Sangat Menerima Dengan Senang Hati Jika Anda Melakukannya Di BUKU TAMU Yang Telah Saya Sediakan,Terima Kasih Atas Perhatiannya